

Recipes

Basil Pesto
Fresh, fragrant, and endlessly versatile, this homemade basil pesto adds instant flavour to any dish. Perfect tossed through pasta, spread on toast, or spooned over roasted vegetables. INGREDIENTS: 2 cups fresh basil leaves ⅓ c walnuts (or pinenuts if you have them) 3 cloves garlic ½ c finely grated parmesan cheese ½ c olive oil INSTRUCTIONS: Combine basil and pinenuts Add parmesan and garlic Slowly add oil Check consistency and season with salt and pepper
Learn more
Tamari Roasted Seed Mix
Crunchy, savoury, and full of goodness, this simple seed mix makes the perfect healthy snack or salad topper. Once you’ve made your own, you’ll always want a jar handy in the pantry. INGREDIENTS: ⅓ c sunflower seeds ⅓ c pumpkin seeds ¼ c flaxseed 1 tbsp chia seeds 1 tbsp sesame seeds 1 tbsp tamari 1 tbsp olive oil INSTRUCTIONS Preheat oven to 180°C and line a tray with baking paper Combine all the seeds into a medium bowl and then add tamari and olive oil. Stir well to combine and coat all the seeds. Spread the seeds out across the baking tray and roast for 8-10 minutes Stir half-way to brown evenly and prevent burning Remove from the oven, allow to cool and then transfer to clean glass jars to store in the cupboard.
Learn more
Red Rice, Broccoli and Bacon Salad
This recipe is a more substantial version of my Broccoli and Bacon Salad. The red rice gives a nice nutty flavour and you can serve this as a main on it’s own or as a side. This also keeps fresh for up to 2 days in the fridge. Serves 4-6 INGREDIENTS: ½ cup red rice 1 cup water 1 large head of broccoli, chopped into small florets 100g bacon, cooked and chopped ⅓ cup sunflower seeds Dressing ⅓ cup mayonnaise 2 tbsp lemon juice INSTRUCTIONS: Cook red rice according to package instructions. If using a rice cooker, wash red rice and add 1 cup of water to cook. Once rice is cooked, allow it to cool. This is something you can prepare ahead of time. Place broccoli florets in a large bowl and cover with boiling water for 5 minutes. Drain and then rinse under cold water. In a mixing bowl combine the rice, broccoli, bacon and sunflower seeds. Mix with a fork. In a small bowl whisk together the mayonnaise and lemon juice until smooth. Pour the dressing over the salad and mix with a fork until everything is covered in dressing. Serve immediately with your choice of protein. NOTES: If you’d like to make a vegetarian version you can substitute the bacon for 70g of feta. If doing this, crumble the feta and add it at the very end.
Learn more
Miso Eggplant
Rich, savoury, and full of umami flavour, this miso-glazed eggplant is a simple yet impressive dish. It pairs beautifully with rice and vegetables for an easy, nourishing meal. Prep time: 20mins Cook time: 30 mins Serves 4 INGREDIENTS: 2 eggplants, sliced to 1cm lengthways 2 tbsp miso paste 1 tbsp water 2 tsp sesame oil 1 tsp fish sauce 2 tbsp soy sauce 2 garlic cloves, crushed 1 tbsp honey 1/4 tsp chilli flakes (optional) 1 tsp sesame seeds (optional) IINSTRUCTIONS: Preheat oven to 180°C and line a baking dish with baking paper In a bowl combine the miso paste and water. Mix until smooth Add the sesame oil, fish sauce and soy sauce. Mix until smooth Add the garlic cloves, honey and optional chilli flakes. Mix until smooth Lay the sliced eggplant out across the baking dish Brush the eggplant with marinade. Make sure every piece is covered Choose to sprinkle with sesame seeds if available Bake in the oven for 20-30 minutes or until eggplant is soft and golden on top NOTES: Serve with rice and either fresh salad or cooked vegetables To make gluten-free, make sure you use gluten free soy sauce To reduce fructose content, swap honey for maple syrup
Learn more
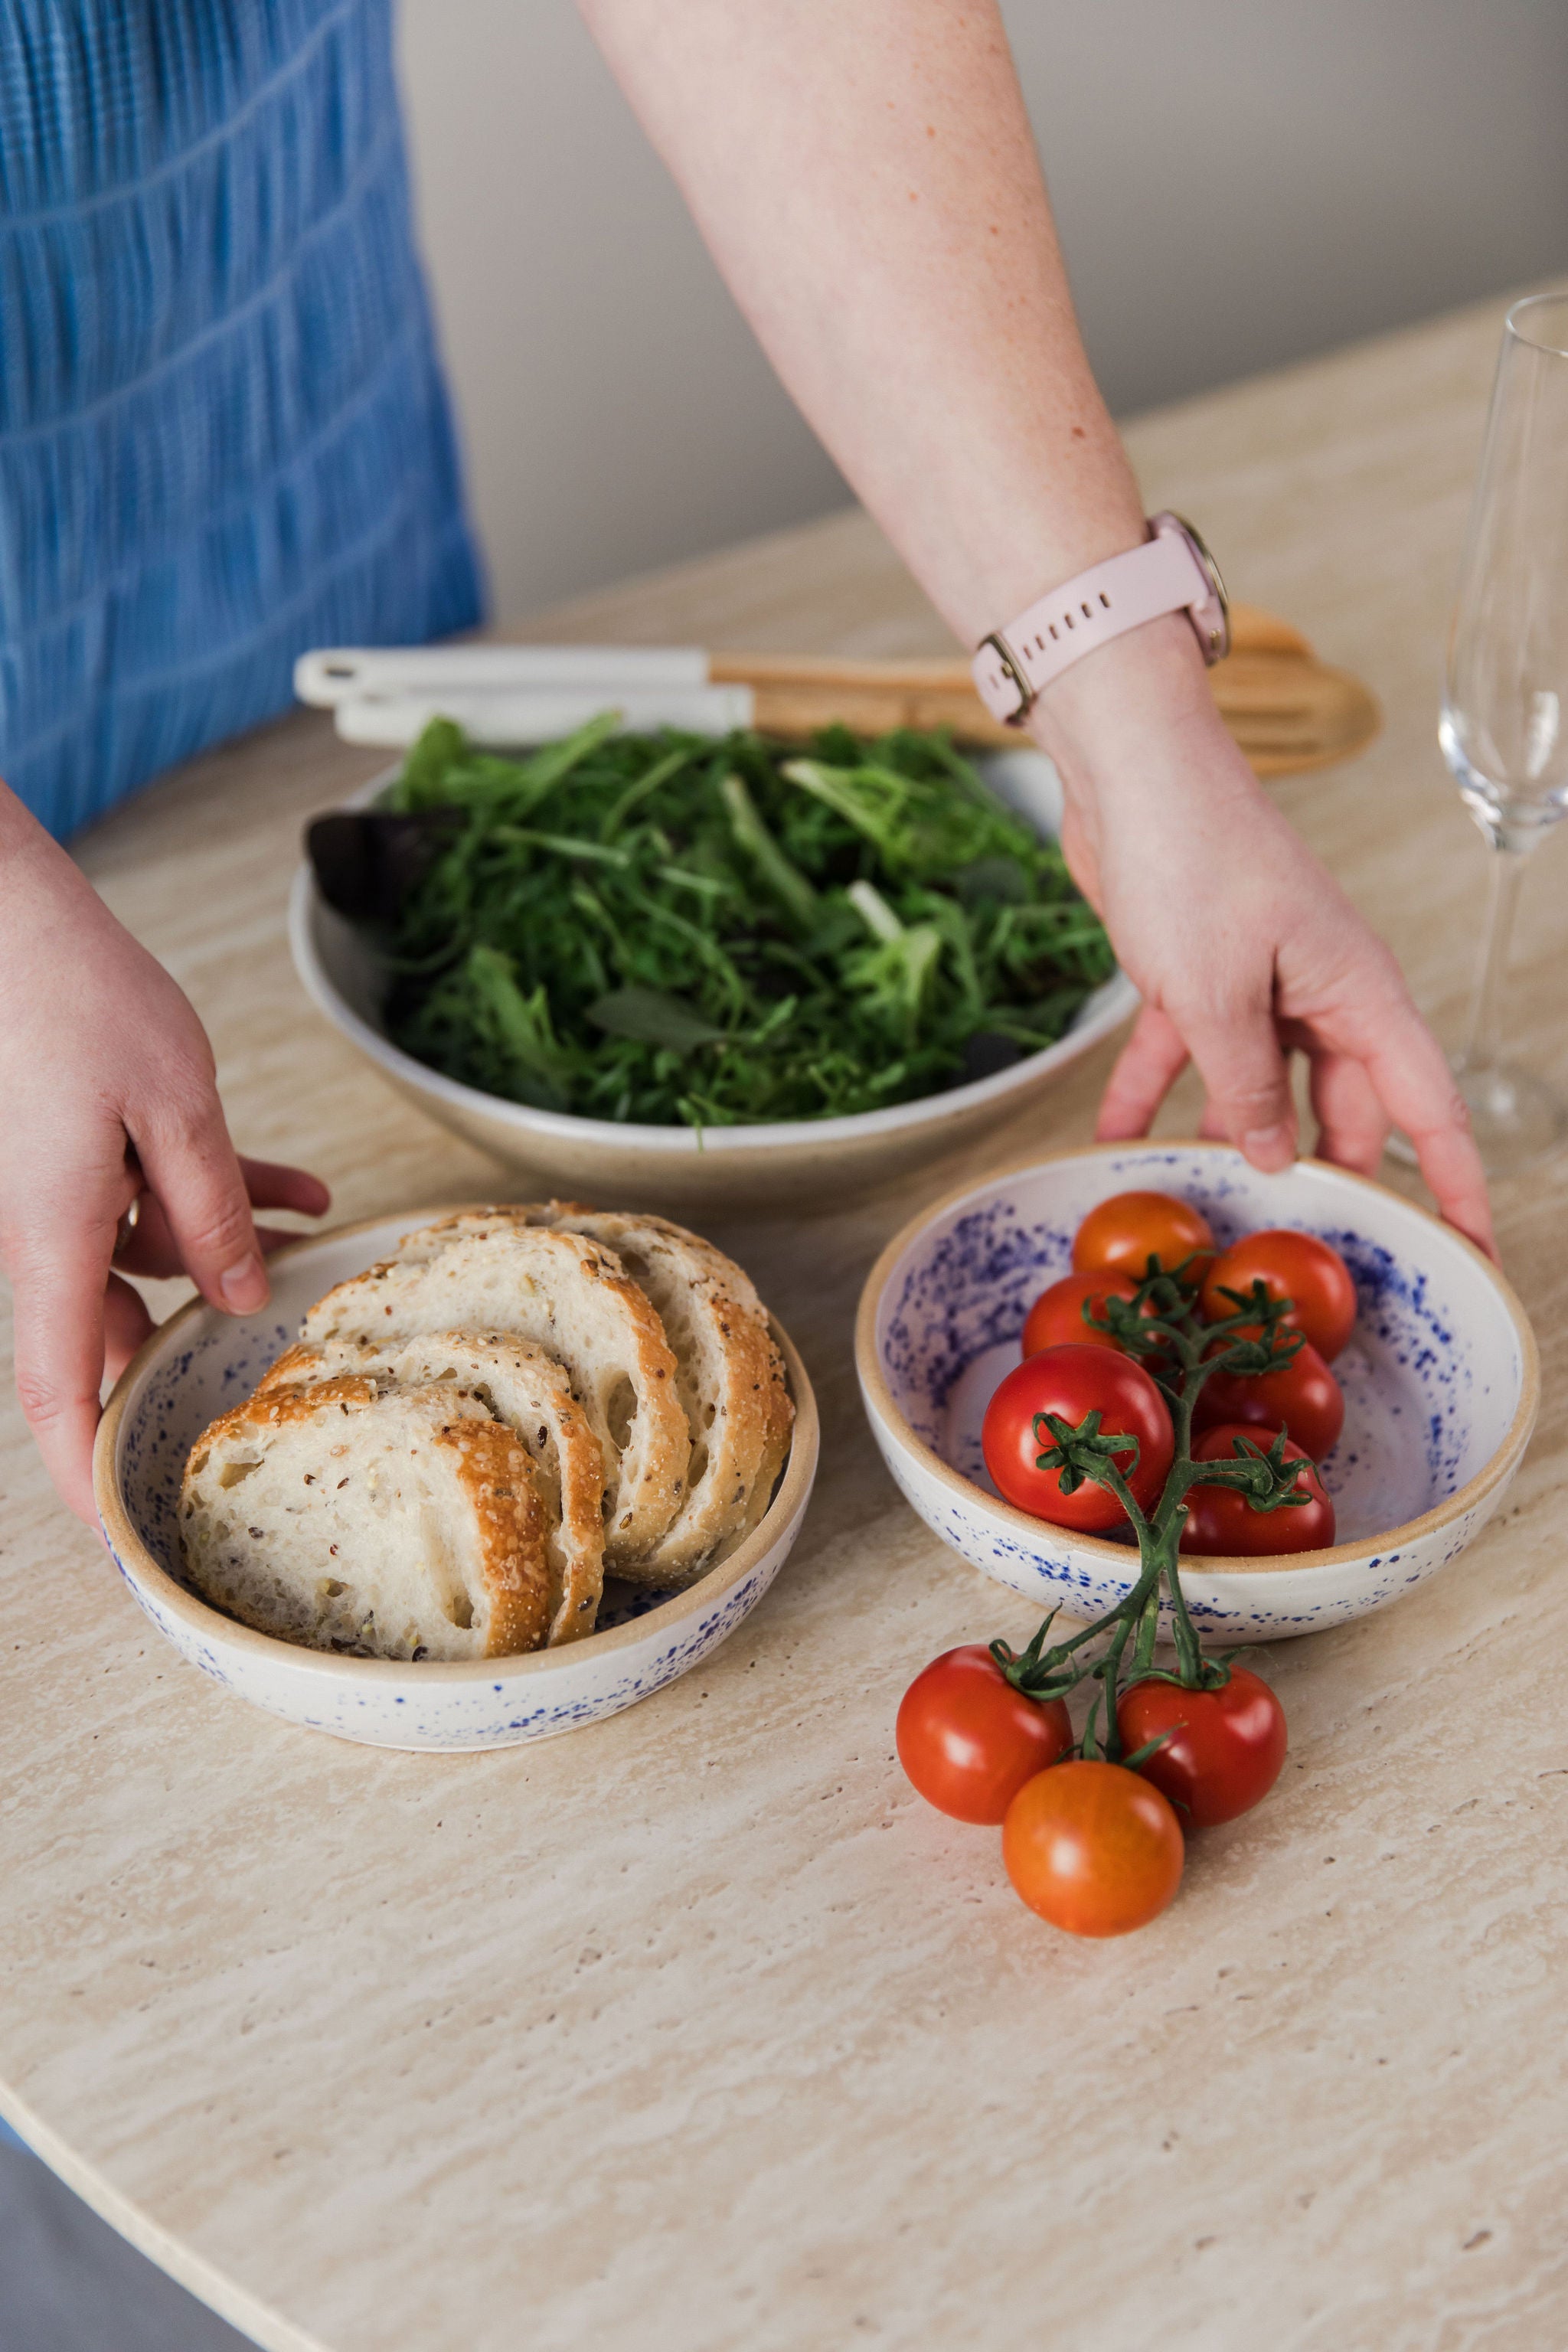
Simple Bruschetta
There are so many lovely combinations that you can enjoy with bruschetta, but this is the most simple - yet most flavoursome - combination. It is a classic. Fresh tomatoes, ripened by the sun, paired with good quality olive oil, garlic and fresh basil. Add a little salt to really bring out the flavours and you’ve got a beautifully fresh snack or light dinner. Makes 10 Time 20 mins INGREDIENTS: ½ french stick, cut into ten 2cm slices 250g tomatoes, whole or cherry tomatoes 1 garlic clove, crushed 5-8 large basil leaves, roughly torn Salt Extra Virgin Olive Oil IINSTRUCTIONS: Preheat the oven to 180°C and lay the sliced bread out on an oven tray, then brush both sides with olive oil and bake in the oven for 10-15 minutes until the bread is golden brown. While the bread is baking, chop the tomatoes finely into a bowl, add the garlic, basil and a little salt to taste. Once the bread is ready, set it out on a serving plate and allow to cool slightly. Spoon the tomato mix evenly across all of the bread and top with a drizzle of olive oil. RECIPE NOTES: This bruschetta is best eaten fresh. If you don’t think you will eat all of it in one serve, keep the bread in an air tight container to stay fresh and crispy and place the tomato mixture in an airtight container in the fridge. Tomatoes are best kept at room temperature as they can go a little gritty in the fridge, but the mix should be fine for a day if you’re making this in advance. Dietaries Dairy Free, Vegetarian, Vegan
Learn more
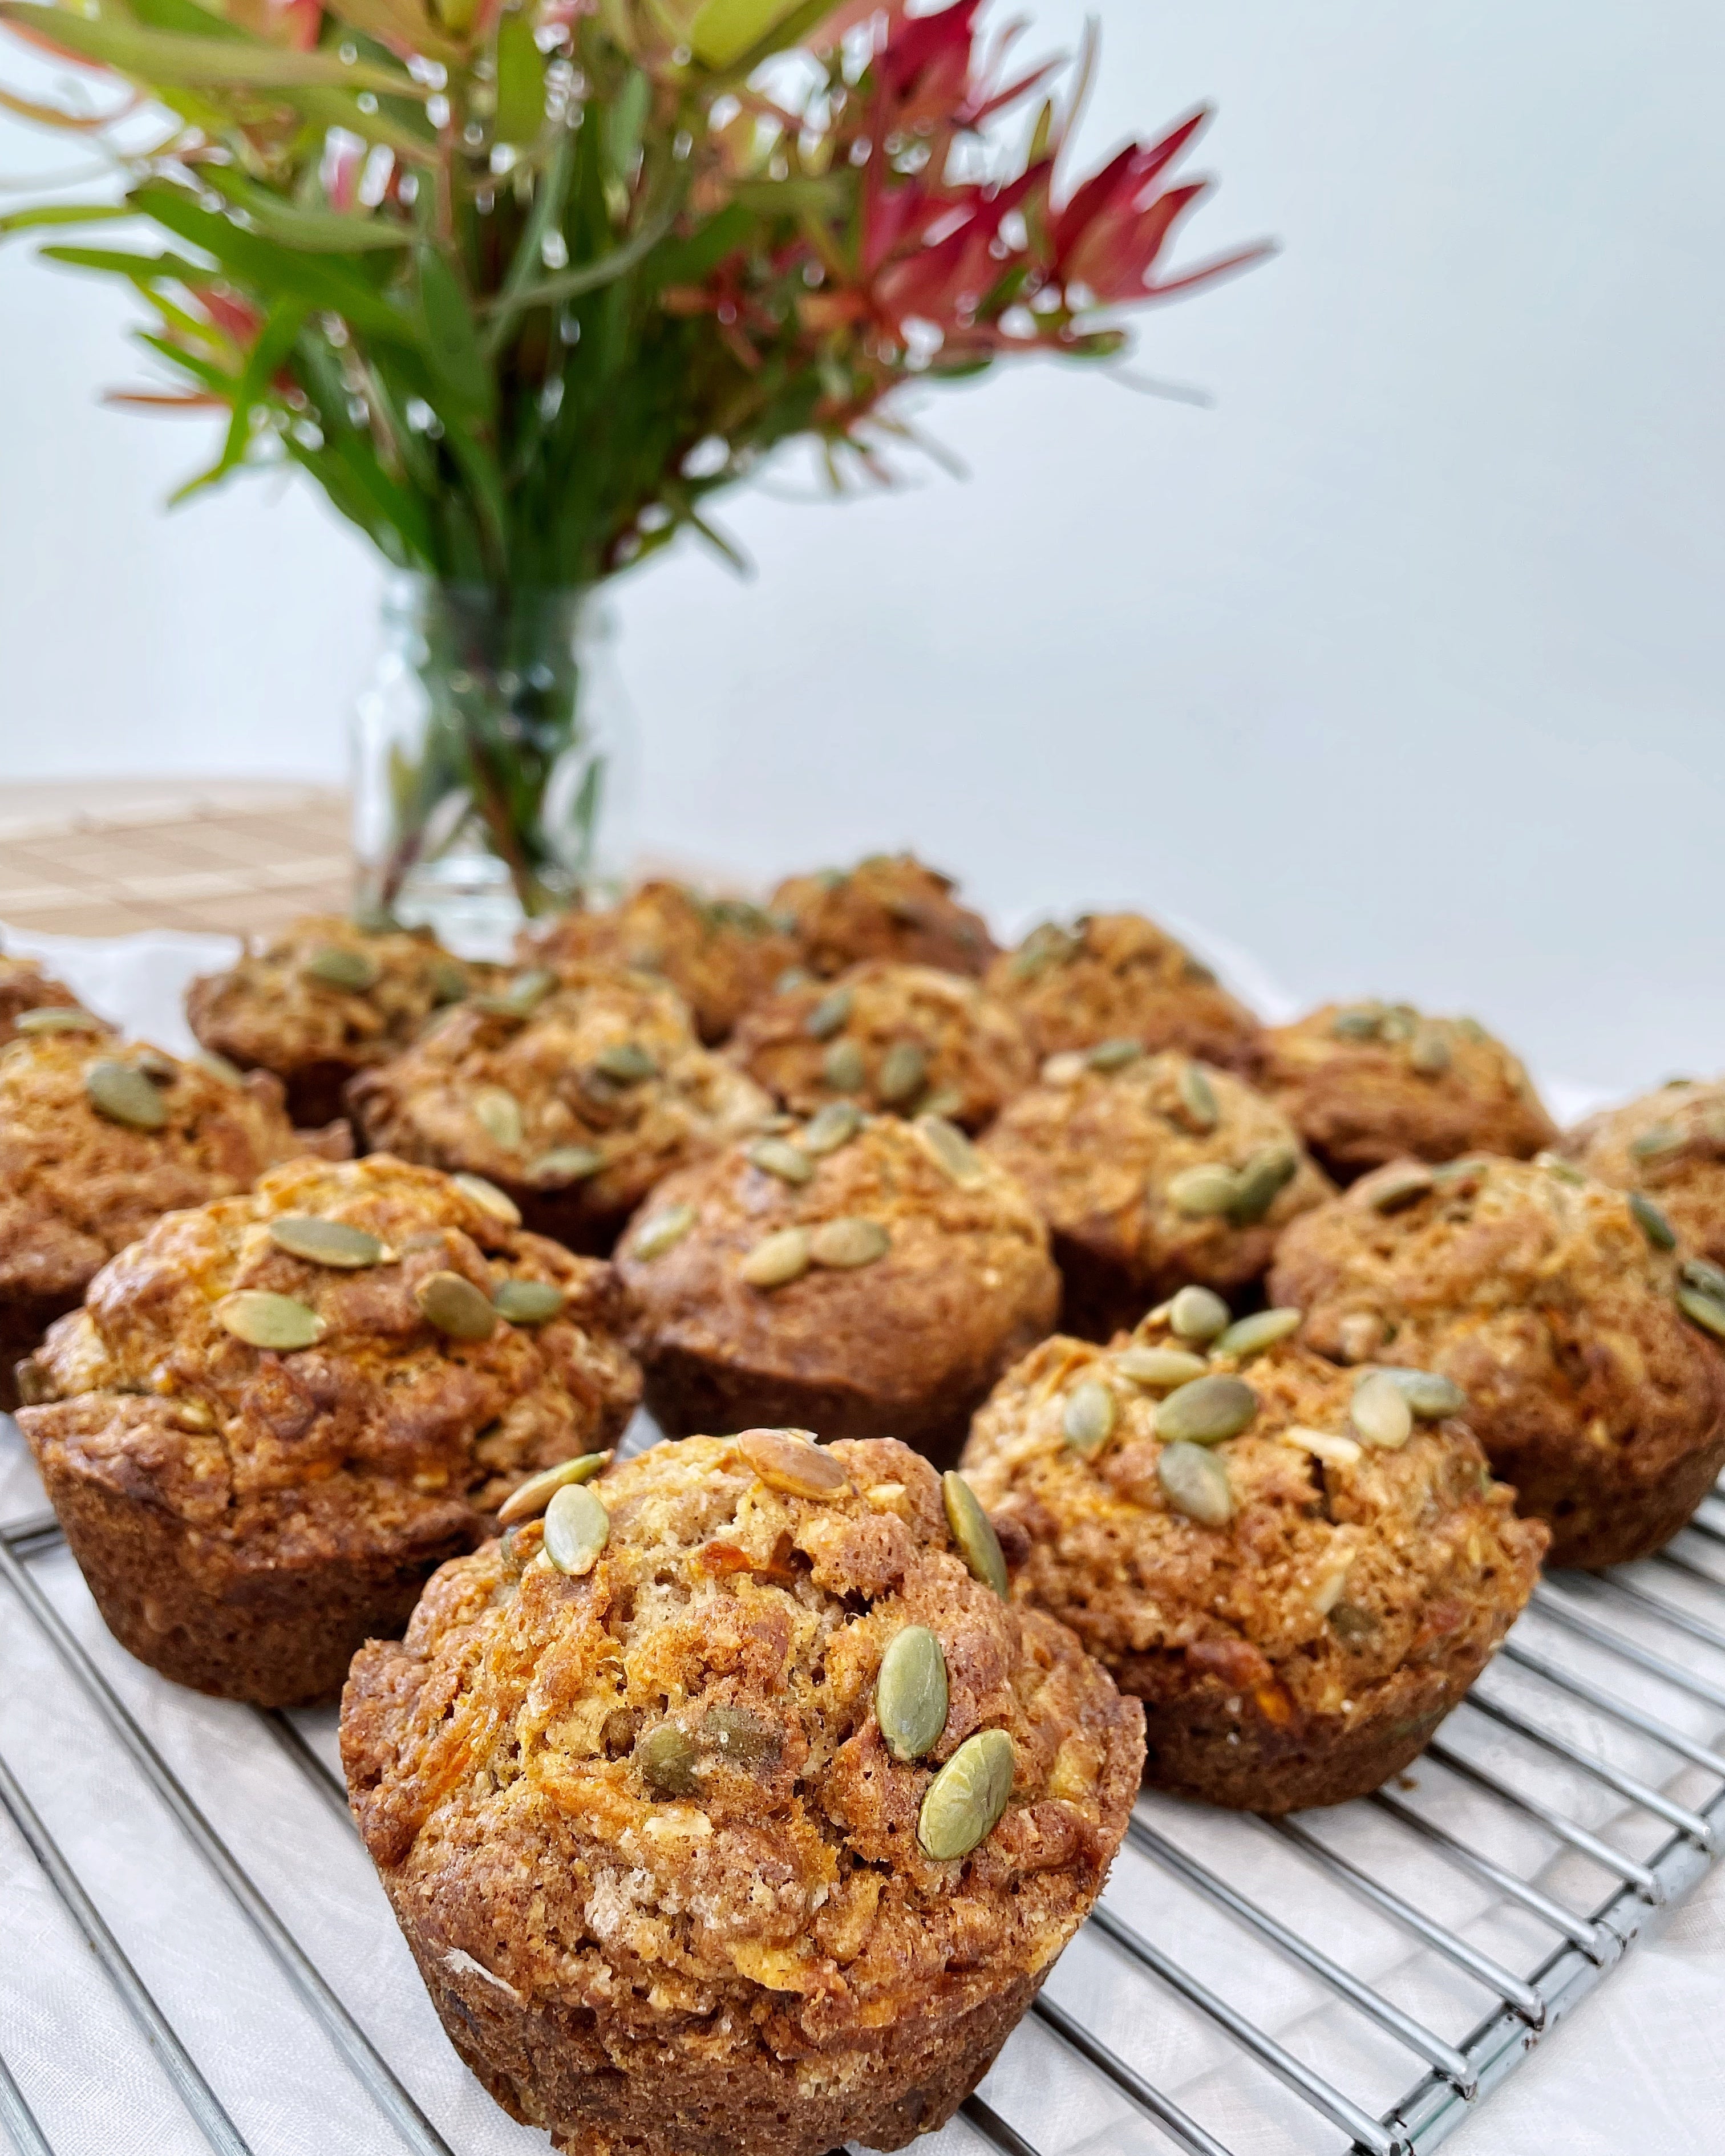
Raspberry and Lemon Muffins
Bright and tangy with bursts of juicy raspberries, these muffins are a delicious mix of sweet and zesty. Perfect for morning tea or a quick snack, they’re as easy to make as they are to enjoy. Makes 12 Time: 45 mins INGREDIENTS: 1 ½ cups plain flour (+ 1 tbsp extra) ½ cup sugar Zest of 1 lemon 2 tsp baking powder ½ tsp salt 3 large eggs 1 cup yoghurt, plain unsweetened ½ cup oil Juice of 1 lemon 1 tsp vanilla essence 1 ½ cups raspberries, frozen INSTRUCTIONS: Preheat the oven to 180℃. Grease a standard 12 cup muffin tray. In a large bowl combine 1½ cups flour, sugar, lemon zest, baking powder and salt. In another bowl, whisk together the eggs, yoghurt, oil, lemon juice and vanilla essence. Add the wet ingredients to the dry ingredients and mix gently until just combined. In a small bowl toss the raspberries with the remaining 1 tbsp of flour. This will stop the berries from sinking to the bottom of each muffins when cooking. Very gently fold the raspberries into the batter, really try to avoid mixing too much. Spoon the batter evenly across the 12 cups in the muffin tray and bake for 25-30 minutes until a skewer comes out clean. Remove from the oven and let the muffins sit for 5-10 minutes before transferring to a wire rack.
Learn more
Chocolate Coconut Chia Pudding
Rich, creamy, and naturally sweet, this chocolate coconut chia pudding makes a wholesome breakfast or dessert. It’s quick to prepare, full of goodness, and perfect with your favourite fruit or crunchy toppings. INGREDIENTS: 2 tbsp tbsp cocoa powder 1 tsp vanilla essence 4 tbsp chia 1 cup coconut milk 1 tbsp honey or maple syrup INSTRUCTIONS: In a large bowl combine the cocoa powder and vanilla essence to make a paste Add the chia seeds and coconut milk and honey (or maple syrup) and stir to combine well Leave in the fridge to set for a few hours, or best to keep overnight Top with your choice of fresh, frozen or canned fruit Other topping choices can include: Coconut, chopped nuts or seeds NOTES: What does it mean for the pudding to set? It means the chia has expanded to absorb some of the liquid and the pudding has a much thicker consistency.
Learn more
Pumpkin, Bacon and Orzo Salad
Hearty and full of flavour, this salad combines roasted pumpkin, crispy bacon, and creamy feta with a tangy mustard vinaigrette. It’s satisfying enough for a main but just as good as a standout side dish. Serves: 4 as a main, 6-8 as a side Time: 1 hour INGREDIENTS: 750g pumpkin 1 tbsp olive oil 1 tsp cumin 1 tsp mixed herbs 200g orzo 3 cups water 1 tbsp olive oil 4 rashers of bacon 3 cups of baby spinach/rocket 100g feta Mustard vinaigrette INSTRUCTIONS: Preheat oven to 180°C. Cut pumpkin into cubes (2x2cm). Line a tray with baking paper and spread pumpkin over it. Drizzle pumpkin with olive oil, cumin and mixed herbs. Cook for 50 min. While the pumpkin is cooking, make the vinaigrette. When the pumpkin has 20 minutes to go, bring 3 cups of water to boil. Once boiling, add the orzo and cook for 10-12 minutes. While orzo is boiling, heat a pan with oil on a medium heat. Cut the bacon into strips and cook until done. Chop the spinach. Add pumpkin, orzo, bacon and spinach to a bowl. Mix in as much vinaigrette as you like. Crumble over feta. NOTES: Pumpkin skin is a source of fibre and can be left on or taken off, whatever you prefer.
Learn more
Bacon & Jalapeno Potato Salad
This Bacon & Jalapeno Potato Salad is this summer’s favourite. The jalapenos add just that extra zest and zing to the dressing giving the salad so much more flavour. The spice is very mild but if you’re worried it might be too much, remove the seeds of the jalapenos before you chop them up. Serves 6-8 Time 40 mins INGREDIENTS: 1.2kg potato, washed and cubed 4 rashers bacon ¼ cup jalapenos finely chopped Dressing ½ cup mayonnaise 2 Tbsp white vinegar or apple cider vinegar 1 teaspoon wholegrain mustard Salt and pepper to taste INSTRUCTIONS: Place the potato in a large pot of water and bring to the boil, then boil until the potato is just cooked through. Drain, rinse with cold water and leave to cool in a colander. Preheat the oven to 180°C and lay the bacon rashers on a lined baking sheet. Cook until bacon is crispy. Let the bacon cool on some paper towels then dice into small pieces. Add all dressing ingredients to a jar and shake well. Then add the jalapenos to the dressing, shake once more. Prepare your serving bowl, add the cooled potato and bacon, then pour the dressing over and toss with salad servers to coat the potato in the dressing. Keep chilled until serving, remove from fridge 15 minutes before serving to allow the potato to come to room temperature. The salad keeps for up to 3 days in the fridge in an airtight container.
Learn more
Crispy Roast Potatoes
Want the crispiest roast potatoes? This recipe is for you. The crispiest crunch of of these potatoes goes so well with the raspberry and salt. You can make this recipe for as many as you like. You will need a pot for boiling the potatoes, a roasting dish/tray and something to partially squish potatoes like a fish slice or spatula. Before you begin, work out how many people are going to be eating these crispy potatoes and decide on portion size. 150-200g per person can be a good guide for the amount of potatoes. Then add in a few extra for good luck INGREDIENTS: Potatoes Olive oil Rosemary, fresh or dried Salt INSTRUCTIONS: Pre-heat the oven to 180 degrees. Par-boil the potatoes Peel and cut the potatoes into even sized pieces Rinse them to get rid of any extra starch Place the potatoes in a large pot, cover with water and bring to the boil for 7 minutes Drain the potatoes into a colander and whilst they're cooling, toss the potatoes around to rough up the edges Toss the potatoes in olive oil and salt Roasting part 1 Spread the potatoes out across a roasting dish Roast in the oven for 30 minutes You'll know they're ready for the next step when they just start to turn golden Squish the potatoes Remove the potatoes from the oven after this first 30 minutes Squish them gently to increase the surface area of the potato - this helps more parts of it become crispy Toss in a little olive oil, rosemary and salt Keep roasting Return the potatoes to the oven and roast for 40-45 minutes Remove from the oven when the whole potato is golden and the edges are crispy
Learn more
Chocolate Bark
Chocolate bark is one of the easiest and most impressive treats to make. With a mix of sweet, salty, and crunchy toppings, it’s perfect for gifting—or keeping all to yourself. Serves 8-10 INGREDIENTS: 250g dark chocolate (>70% cacao) 1/4 cup dried cranberries 2 tbsp pistachios, chopped Pinch sea salt INSTRUCTIONS: Break the chocolate into small pieces and place in a large microwave safe bowl Microwave for 20 seconds then stir, repeat this until the chocolate is just melted and any remaining lumps melt as you continue to stir. It is best to heat it less and let the chocolate melt as you stir. Line a 34 x 24 cm tray with baking paper and spread out the melted chocolate evenly Sprinkle over the cranberries, pistachios and sea salt Refrigerate for at least 30 minutes, or until the chocolate is set. You can even refrigerate overnight. Use a hot, sharp knife to cut the chocolate roughly into triangles. Store in an airtight container or package into jars and store in the fridge
Learn more
Crispy Roast Chickpeas
Crispy, spicy, and seriously moreish, these roasted chickpeas make a perfect healthy snack or crunchy topping. They’re quick to make and add a delicious boost of flavour to just about anything. INGREDIENTS: 1 can chickpeas (400g) 1 tbsp olive oil ⅛ tsp cayenne pepper ½ tsp smoked paprika ½ tsp ground cumin Salt and pepper INSTRUCTIONS: Preheat the oven to 200C and line a baking tray Drain chickpeas* and give a little rinse under cold water and dry the chickpeas by laying out on paper towels In a bowl combine the chickpeas, oil, spices and salt and pepper. Give a good stir to combine Spread the chickpeas out across a baking tray and roast for 20-30 minutes until golden and crispy Store in an airtight container in the cupboard to keep the crisp Serving suggestions: Add as some crunch on top of soup Mix in with roast vegetables Use as your protein option in a salad bowl Eat as a morning or afternoon snack NOTES: Keep the chickpea liquid to the side If the chickpeas are not dry they will pop and explode in the oven
Learn more
Create your own Christmas Grazing Table
Christmas entertaining doesn’t need to be stressful. With a little planning and the right mix of flavours, you can create a table that looks beautiful and feels effortless.